Pressure settings and technique for brick
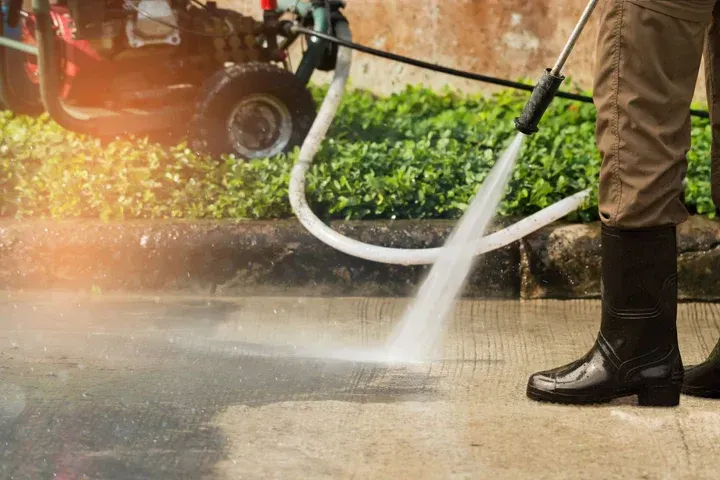
The right pressure range for washing a brick house without damage is lower than most people assume: 500 to 1,000 PSI for older or softer brick, and no more than 1,500 PSI for harder modern brick in excellent condition. That's well below what most pressure washers default to, which means you're either dialing the machine down, controlling distance carefully, or using a wide-angle tip — ideally a 25 or 40-degree fan tip — that distributes the force across a broader surface area.
Keep the wand at a consistent distance of twelve to eighteen inches from the surface and angle it slightly downward rather than directly perpendicular to the wall. Spraying directly into the face of the brick at a 90-degree angle drives water straight into the mortar joints. Angling slightly downward lets the water do its cleaning work on the brick face while reducing the direct force hitting the joints.
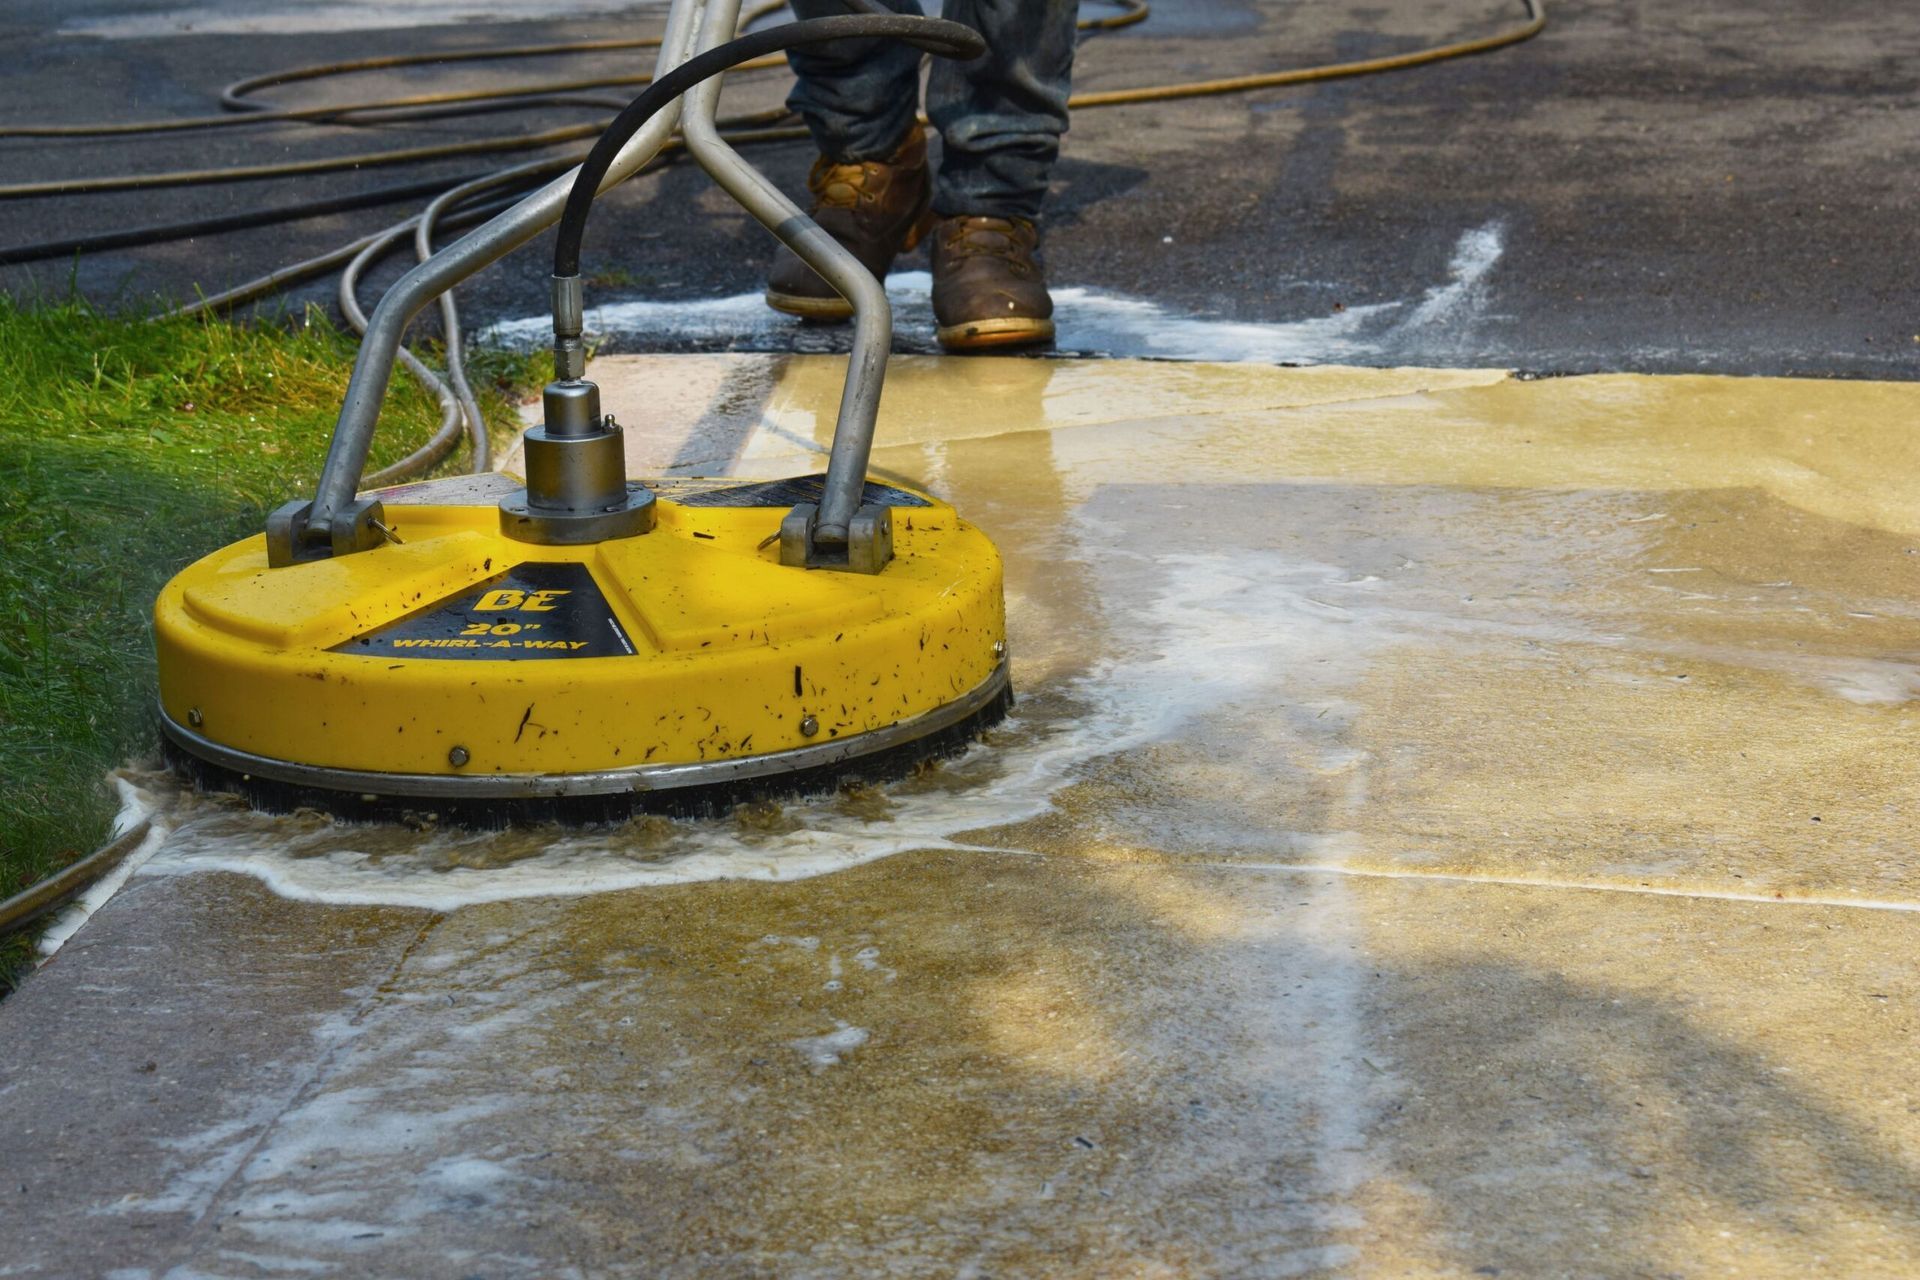
Work in sections, top to bottom, so dirty water runs down over areas you haven't cleaned yet rather than over sections you've already finished. Rinse each section thoroughly before moving on.
Cleaning solutions that help
Plain water at safe pressure handles surface dirt and light grime on brick reasonably well. For more stubborn staining — the dark biological streaks from algae and mildew that accumulate on shaded north-facing walls, or the efflorescence, that white chalky mineral deposit that migrates to the brick surface — a cleaning solution applied before washing makes a significant difference.
A diluted mixture of dish soap and water works for general cleaning. For mildew and algae, a solution of one part bleach to ten parts water — more diluted than what you'd use on vinyl siding — applied with a soft brush or low-pressure sprayer, left to dwell for five to ten minutes, and then rinsed off at low pressure is effective without being harsh on the mortar.
Avoid acid-based cleaners unless you have specific staining — rust streaks, heavy efflorescence — that genuinely requires them. Muriatic acid is sometimes recommended for brick cleaning and it does work, but it's aggressive enough that it can etch brick surfaces and damage mortar if used at the wrong concentration or left on too long. It's a last resort, not a standard cleaning approach.